Grass, Water, and Sky
Our walking sim is now complete, but we can make it even better.
I also want to talk about a few other useful parts of Godot, such as addons and shaders.
I will cover these briefly while adding grass, water, and sky.
Grass
Let’s fill these empty ground areas with grass. Right now your scene should look like this:
-77566009043ca3716ced57fd891e5fb0.png)
To add grass, we need to use an addon.
When you switch to the Addons tab, it will look like this.
(You need an active internet connection to see this)
-4efb7f33394d312f3cfc3952269fcd62.png)
Search for “grass” and you will see this addon.
-b6eeb294444fbe7814288a6d8b309806.png)
Click on the addon and then click Download.
-68c31b1d4d71b156d4883ac5ccfd6b27.png)
It will finish downloading quickly.
-4eaab454a176f7f6c1bc320ae8093b0d.png)
Then click Install. Do not change any settings.
-abf163a182f494f36f9f73beeebf43e6.png)
After installation, you will see a message saying it was installed successfully. You will also see a new folder named addons in the FileSystem panel.
Click OK and go back to the 3D view.
-c667e8d2191ccce986b2a5d424cf5249.png)
Now go to Project → Project Settings → Plugins.
You will see the plugin we installed, but it is not enabled yet.
-2f97a4e17c9825a0758e415ea59c7290.png)
Enable the plugin and close the window.
-8fadab3afb1653a89b52ee32ae752285.png)
Now select the Demo node and press Ctrl + A to create a new node.
Search for grass, and you will find SimpleGrassTextured node.
Click Create.
-47ecf570ca1ba6a3f1b3d0bd25aebb32.png)
Your viewport will now show a brush. You can paint grass by clicking.
-5a9c3b5cbd53a886783e5202fa4ee313.png)
You can adjust the radius using the bracket keys.
-8fe904c491dd65091ee1ae32e65950fe.png)
You can adjust the density using the plus and minus keys.

Change radius and density as needed, and paint grass across the ground.
Use WASD movement to navigate.
This is also a good chance to practice viewport movement.
-450033fb434e849751087fc2cece2f6f.png)
Use the Erase tool to remove grass. Shortcut is X.
-0b23e8a5a9852448bc03ea6c015dae61.png)
Switch back to the airbrush by pressing D.
Use correct brush sizes to speed up your workflow.
-47b5c4a4aa294b8982d0de05caf37aea.png)
You can also erase grass to create simple paths.
-84f0ed9fa2e1684562abe3f4494535d3.png)
Click on any other node to exit grass painting mode.
-60a2d19c2c07afc7bce31d74f24e6a49.png)
Now you can see the grass with a small wind animation.
So now you learned how to use an addon to make your work easier.
-5133d199590e965945cad05fb99d72ed.png)
Brush size: [ ]
Density: + -
Paint mode: D
Erase mode: X
Viewport movement: Right-click + W A S D
Fast movement: Hold Shift while moving
An addon is an extra tool or feature you can install to extend Godot’s abilities. It helps you do tasks faster without creating everything from scratch.
Water
We are going to make water. Before that, just hide the player, map, and grass for now.
-bf38576344077350f419a38eeaaf9d42.png)
Create a MeshInstance3D node and assign a QuadMesh.
-4ee98f207fe153be488b236a74cc2f9e.png)
You will see this. Rename it to Water.
-00be3dc60ca3070b28a50a4edc4f0d75.png)
Click on QuadMesh to open its sub-properties.
-4593451bc6eea1f9bfa9564c2384fece.png)
Change the orientation to face Y.
-93815bed1720d56ac6a81ba2530c64ae.png)
Change the size to 500 x 500 so it covers a larger area.
-4d1762a0c3763ac2a20c76c9e0de39c2.png)
Next, add a ShaderMaterial to its Material property.
-57961d864fd87ae04c383ba381e3d833.png)
Click on it again to open sub-properties.
-e0ccaf6405ac83848348adeb6077a342.png)
For the shader, create a new shader.
-ac8a45a05d8a5024939d811b3f93f17d.png)
Keep everything default and click the folder icon.
-3b80dd5fb092421143628449cf71d1d8.png)
Choose the scripts folder and rename it to water. Press open.
-d7612b02920ac6acc245a70ad946fd78.png)
Hit Create.
-0eab95f1c73edd54b0e436bd920b568b.png)
Next, click on water.gdshader, and it will open the shader editor at the bottom.
-7c7b6c8beb53a5ce89a2ddf834e1ded9.png)
Remove the existing code and replace it with this.
Code credits: Toon Water Shader
shader_type spatial;

render_mode unshaded;

uniform float slide_speed = 0.3;
uniform float wobble_speed = 1.0;
uniform float wobble_intensity = 0.4;
uniform float texture_scale = 0.2;
uniform sampler2D water : repeat_enable;
uniform sampler2D depth_texture : source_color, hint_depth_texture;

varying vec2 sample_choord;

void vertex() {

	VERTEX.y += sin(TIME * wobble_speed + (VERTEX.x + VERTEX.z) * 0.3) * 0.2;

	sample_choord = VERTEX.xz;
}

void fragment() {

	vec3 color1 = vec3(1,1,1);
	vec3 color2 = texture(
		water,
		vec2(
			(sample_choord.x + sin(TIME * wobble_speed) * wobble_intensity + TIME * slide_speed) * texture_scale,
			(sample_choord.y + cos(TIME * wobble_speed * 0.5) * wobble_intensity) * texture_scale
		)
	).rgb;

	float depth = texture(depth_texture, SCREEN_UV).x;
	vec3 ndc = vec3(SCREEN_UV * 2.0 - 1.0, depth);
	vec4 view = INV_PROJECTION_MATRIX * vec4(ndc, 1.0);
	view.xyz /= view.w;
	float linear_depth = -view.z;

	float object_depth = FRAGCOORD.z;
	vec3 object_ndc = vec3(SCREEN_UV * 2.0 - 1.0, object_depth);
	vec4 object_view = INV_PROJECTION_MATRIX * vec4(object_ndc, 1.0);
	object_view.xyz /= object_view.w;
	float linear_object_depth = -object_view.z;

	ALBEDO = mix(color1, color2, smoothstep(0.0, 4.0, linear_depth - linear_object_depth)) * 0.5; // Darken by 20%
}
After pasting, you will see a little animation.
-f18a47263063195a1d1ae2e34bc3b4e4.png)
Under Shader Parameters, we need to assign the water texture.
-0cfb7de169760483db4596bae42b7184.png)
I found this cool water texture from OpenGameArt:  Download link: Y2K Water Texture
Drag and drop the downloaded texture into your assets folder.
-cbcec5cdc62e6eca4074dbf4d057bf37.png)
Then drag it to the water shader slot. You will see stylish water.
-6da7240b84cc71e03ccf241f46fa710b.png)
Toggle the visibility of the player, map, and grass. Change the water’s Y position value to 2.5. Now we have water!
-1ec0e578bbd045f84f64e5837b7c73e5.png)
A shader is a small program that controls how an object looks. It defines colors, textures, lighting, and effects like water, fire, or special visual effects.
Sky
Next, let’s work on the sky.
Click on WorldEnvironment and in the Inspector, click on Environment, then click on Sky.
-46a9114350c56d224a2904a95dd25964.png)
It currently has a procedural sky.
Let’s replace it with a Panorama Sky.
-87e98517891322d6324fe691f9b5df04.png)
It will turn dark like this:
-333c52d81c967505f36037e91f68c7ef.png)
Click on the Panorama Sky material, and it will ask for a panorama image.
-b1fa05cc6521c383ff4f2e84a1abbfff.png)
We need an image for it.
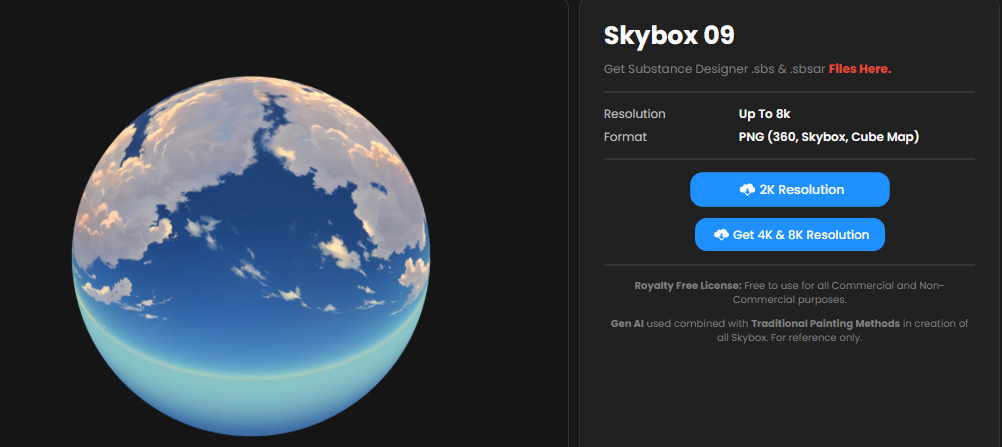
Here’s a link to download one: Sky Clouds 09 – 2K Resolution
Extract the downloaded zip file and add the sky image to your project’s assets folder.
-5e928b455c9a3a7bfb552f2ff5515c36.png)
Then drag and drop it into the Panorama slot.
-7d2e5a91dffb47738f6d08c1d8d414d2.png)
Now the sky looks more vibrant and stylish.
-e79e19f065d001b5c662e004e9c93712.png)
And that’s it for the sky!
But there’s one more thing I haven’t told you yet… Guess what?
We’ll cover it in the next section :)